

Cleaning a safety razor is three habits at three intervals: rinse it under warm running water and shake it dry after every shave, take the razor apart and wash its three metal parts in warm soapy water about once a week, and deal with mineral buildup only if it actually appears. Do that, dry every part fully, and store it where air can reach all sides, and a double-edge razor stays clean and ready to use.
TL;DR — the safety razor cleaning routine
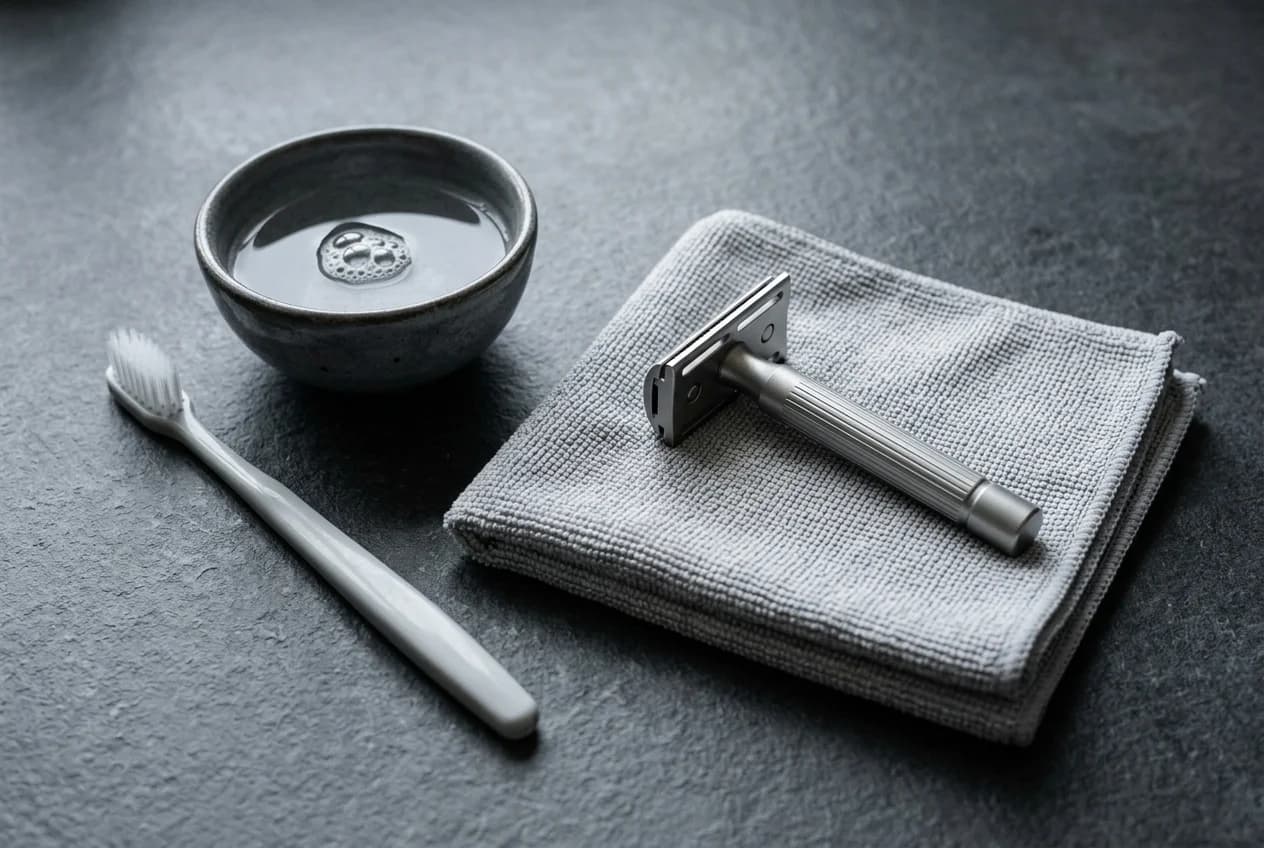
Rinse under warm running water and shake dry after every shave. Once a week, unscrew the handle, separate the razor into its 3 metal parts, lift the blade out by its blunt short ends, and scrub the cap, base plate, and handle with warm soapy water and a soft brush. If a chalky deposit remains, check your razor’s care instructions before using a descaler. Dry every part with a towel and store it in a dry area.
Why cleaning a safety razor matters
A safety razor collects two things a cartridge hides: hardened lather and standing water. Soap scum and shaved hair pack into the gap between the top cap and the base plate, and the American Academy of Dermatology says to keep a razor out of the shower and off a wet sink so it dries completely between shaves, because bacteria grow on a razor that stays wet. Rinsing and drying after each shave is the single habit that keeps both problems from starting.
The good news for a machined razor is that the metal itself is built to survive water. The Vector head is cut from either 316L stainless steel or TC4 titanium — two alloys chosen for corrosion resistance, so routine rinsing and washing are what the material is built to take. Solid alloy also means there is no surface coating for water to creep under. The care routine below is what keeps that material advantage doing its job.
Corrosion resistance is not the same as being maintenance-free, though. Standing water still leaves mineral spots as it evaporates, and dried soap still dulls the finish and clogs the blade gap. The point of the routine is not to rescue the metal — it is to keep the razor hygienic, keep the head clamping the blade flat, and keep soap and water spots off the finish.
How to clean a safety razor, step by step
The full routine has five parts, but only the first happens every day. The rest are weekly or as-needed. Work over a towel on a flat surface so small parts do not roll into the drain, and keep the used blade out of the way — you handle it separately at the end.
Step 1: Rinse under warm water after every shave
The moment you finish shaving, hold the assembled razor under comfortably warm running water and let it run through the head from both sides until the soap and short hairs are gone from the blade gap. Then shake the razor a few times to throw off the bulk of the water. You do not need scalding water for this. It is the same rinse-the-razor habit the American Academy of Dermatology recommends during the shave, carried through to the end.
Step 2: Take the razor apart and wash it weekly
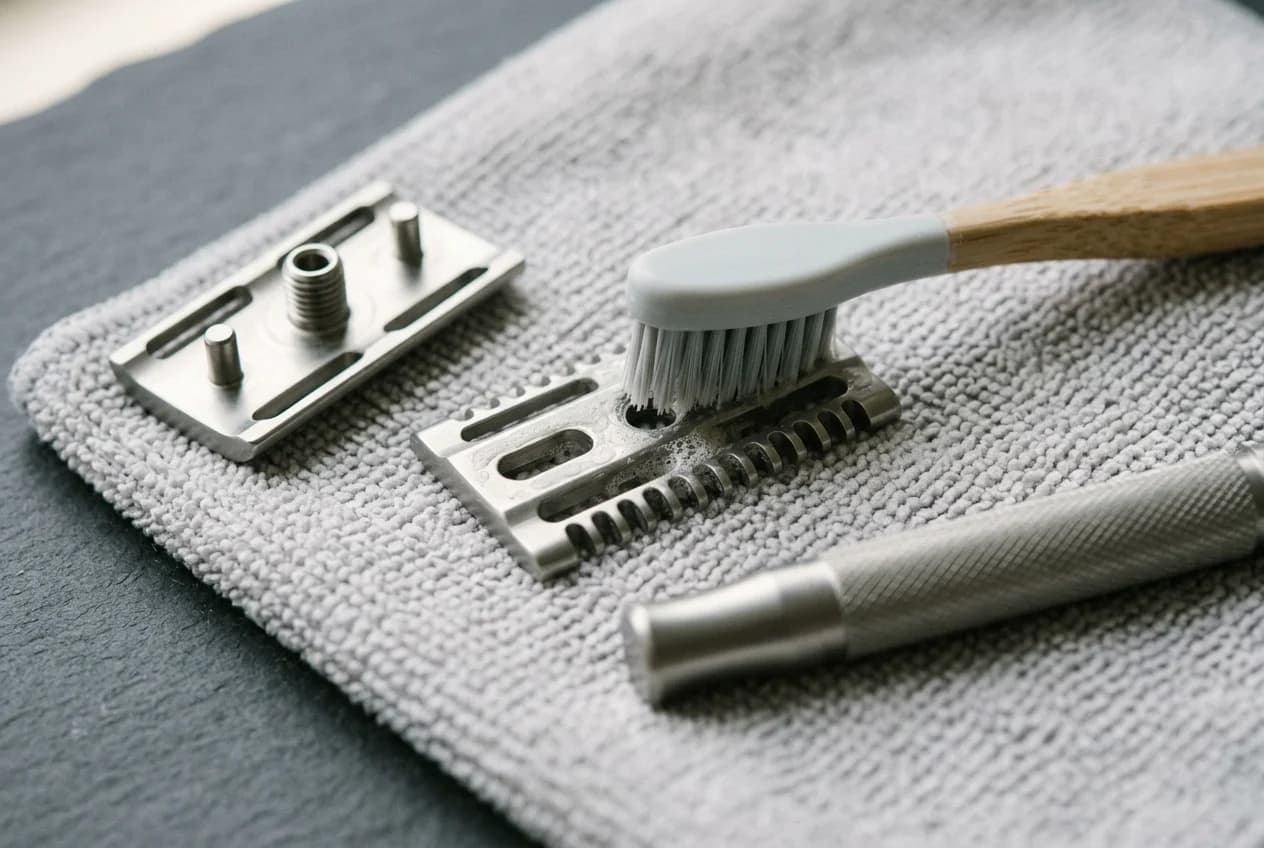
About once a week, work over a towel on a flat surface and unscrew the handle. That releases the clamp and separates the razor into its three metal parts — top cap, base plate, and handle. Only now can the blade come out: on a three-piece razor it sits clamped between the cap and the plate, so there is no way to lift it free while the handle is still tightened down. Take it out by its blunt short ends and set it aside before you wash anything. Then wash the three parts in warm soapy water, working a soft brush (an old toothbrush is ideal) into the underside of the cap and the slots of the base plate, where dried lather collects out of sight. The threaded post at the center of the top cap and the threads inside the handle opening both hold gunk; run the brush over both. Rinse each part clear of soap when you are done.
Step 3: Handle mineral buildup only if it appears
Hard water and soap can leave a chalky film that a short wash will not shift. Start with a longer soak in warm soapy water and more work with the soft brush, which clears most soap film on its own. If a mineral deposit survives that, check the care instructions that came with your razor before reaching for a descaler. Manufacturers do not agree here — some rule out vinegar and other acids outright for their finishes — so a recipe that suits one razor can mark another. If your instructions do specify a method, follow the dilution and contact time they give and rinse thoroughly afterwards. If they say nothing about descaling, ask the manufacturer rather than guessing.
Step 4: Dry every part fully
Dry the cap, plate, and handle completely with a towel before you reassemble. Both 316L stainless and TC4 titanium resist rust, so a forgotten drop will not corrode them — but standing water still evaporates into visible mineral spots on the bead-blasted matte finish, and a damp, closed-up head is where bacteria and soap film get their start. Cleveland Clinic makes the same point about ordinary razors: clean it, dry it, then put it away. A minute with a towel is the difference between a spotless razor and a water-stained one.
Step 5: Store on a stand so air reaches all sides
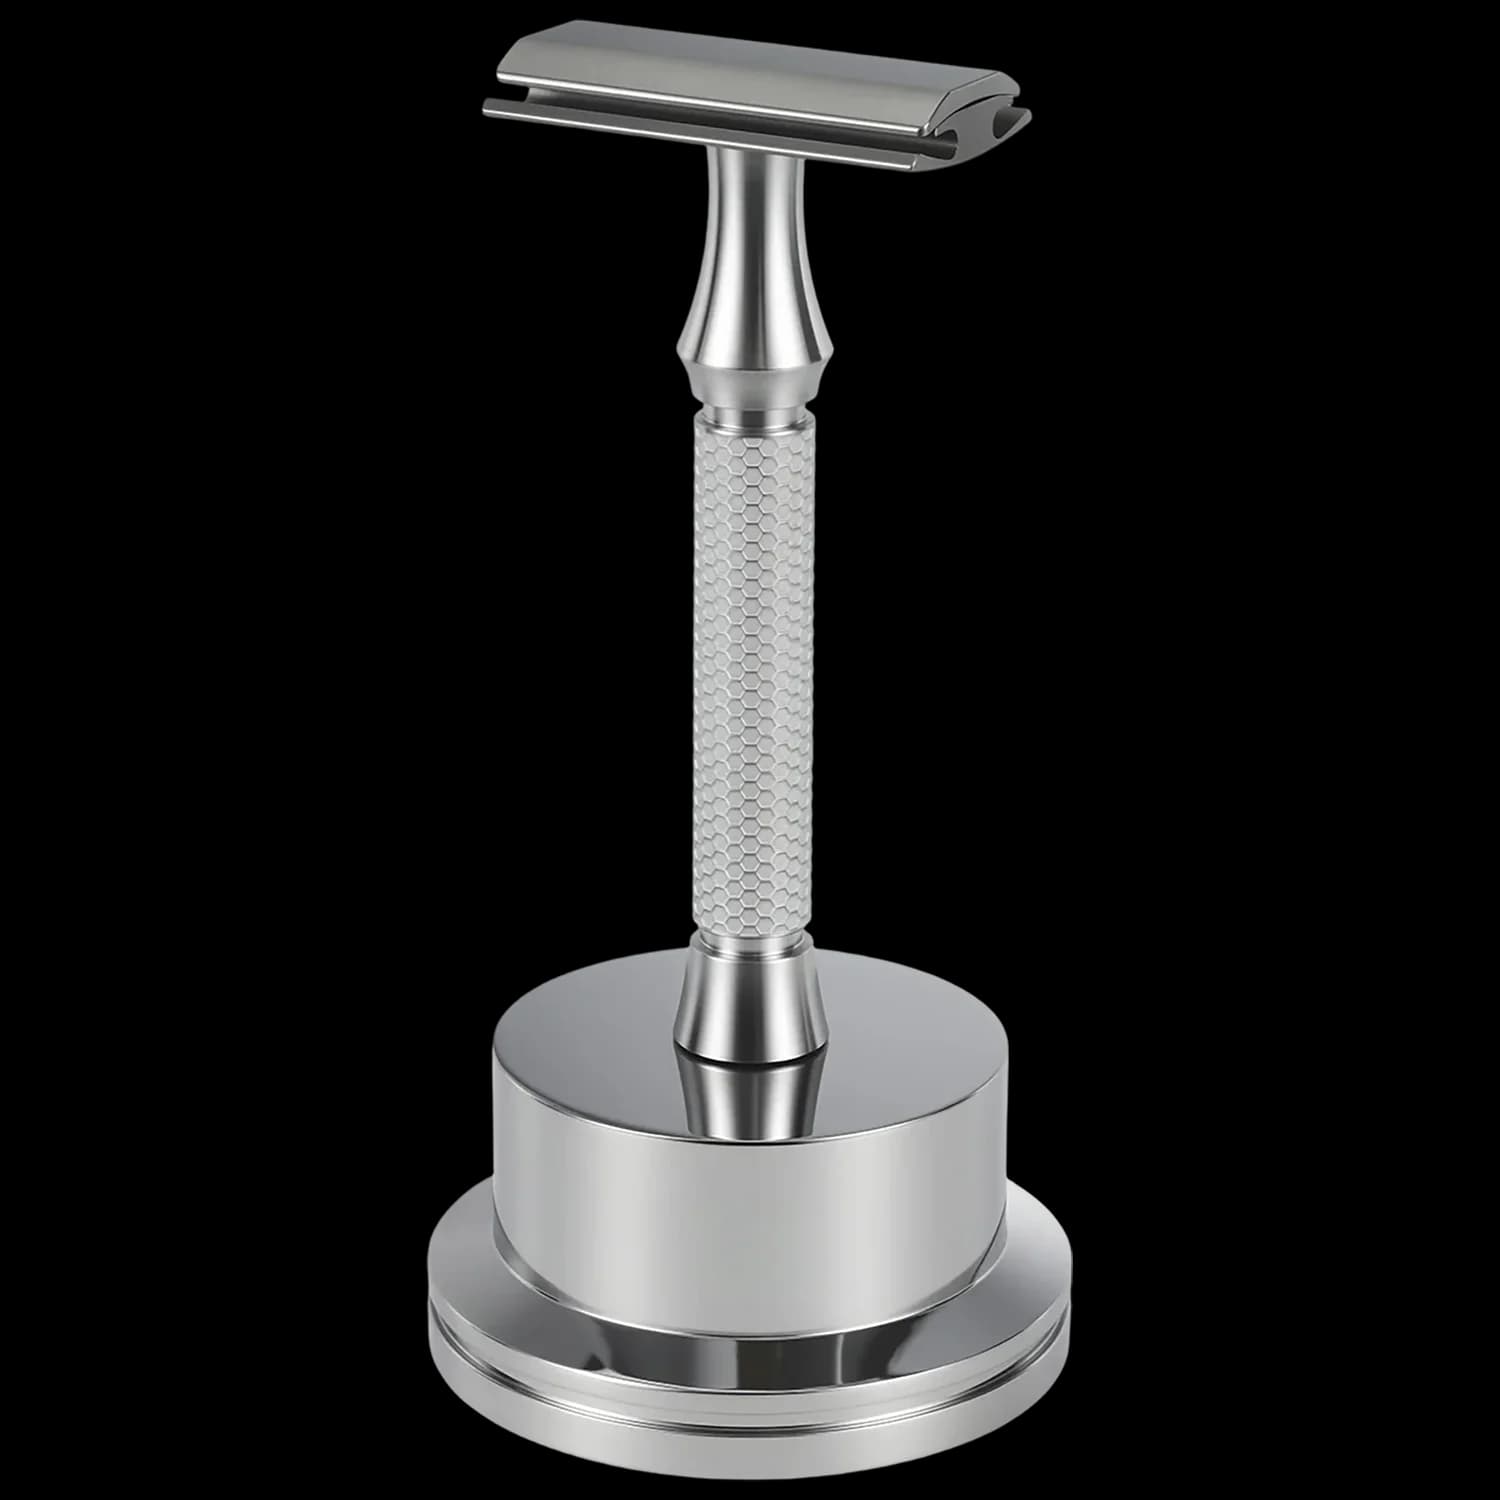
Reassemble the razor and rest it on a stand rather than laying it flat on a wet sink or leaving it in the shower. A stand lets air circulate around the whole head so it dries fully between shaves, which is exactly the “store it in a dry area” guidance the American Academy of Dermatology gives for keeping bacteria off a razor. Storing it dry does not replace the weekly wash, though — the two solve different problems. Drying keeps bacteria and water spots down between shaves; the weekly wash removes the lather the rinse never reaches.
How often should you clean a safety razor?
Match the effort to the buildup. The daily rinse is non-negotiable and takes ten seconds. The weekly teardown handles the lather that the rinse cannot reach. Descaling is not on a schedule at all — you do it only if a chalky deposit actually shows up, which depends on how hard your water is, and only by a method your razor’s instructions allow. Keeping up the fast job is what stops the slow one from being needed.
Cleaning cadence and blade cadence are separate schedules driven by different things. The razor body lasts years and gets cleaned on the rhythm above; the blade gets replaced once it stops cutting comfortably. The American Academy of Dermatology puts a single-blade razor at 5 to 7 shaves before the blade needs replacing, and Cleveland Clinic says to toss a razor blade after five to seven uses. Shaving daily, that works out close to the weekly wash, which is convenient — a fresh blade going into a just-cleaned head. Shave less often and the two drift apart, so track them separately rather than letting one stand in for the other. If you are still learning the mechanics of loading and holding the razor, the safety razor technique guide covers the angle and pressure that keep the head clean-cutting in the first place.
How to dispose of used blades
Cleaning the razor means handling the old blade, and a loose double-edge blade is sharp on both sides and easy to lose in the trash where it can cut someone. The safe method is a blade bank: a container with a one-way top slot that takes each used blade and will not let it fall back out while the bank is in use. The cheap version is a tin you seal for good and throw away full. Our VAULT blade bank works the other way — a machined aluminum body that holds 100+ used blades, with a lid that twists open so you can empty it and go on using the same bank. Never put a bare blade straight into household trash or recycling.
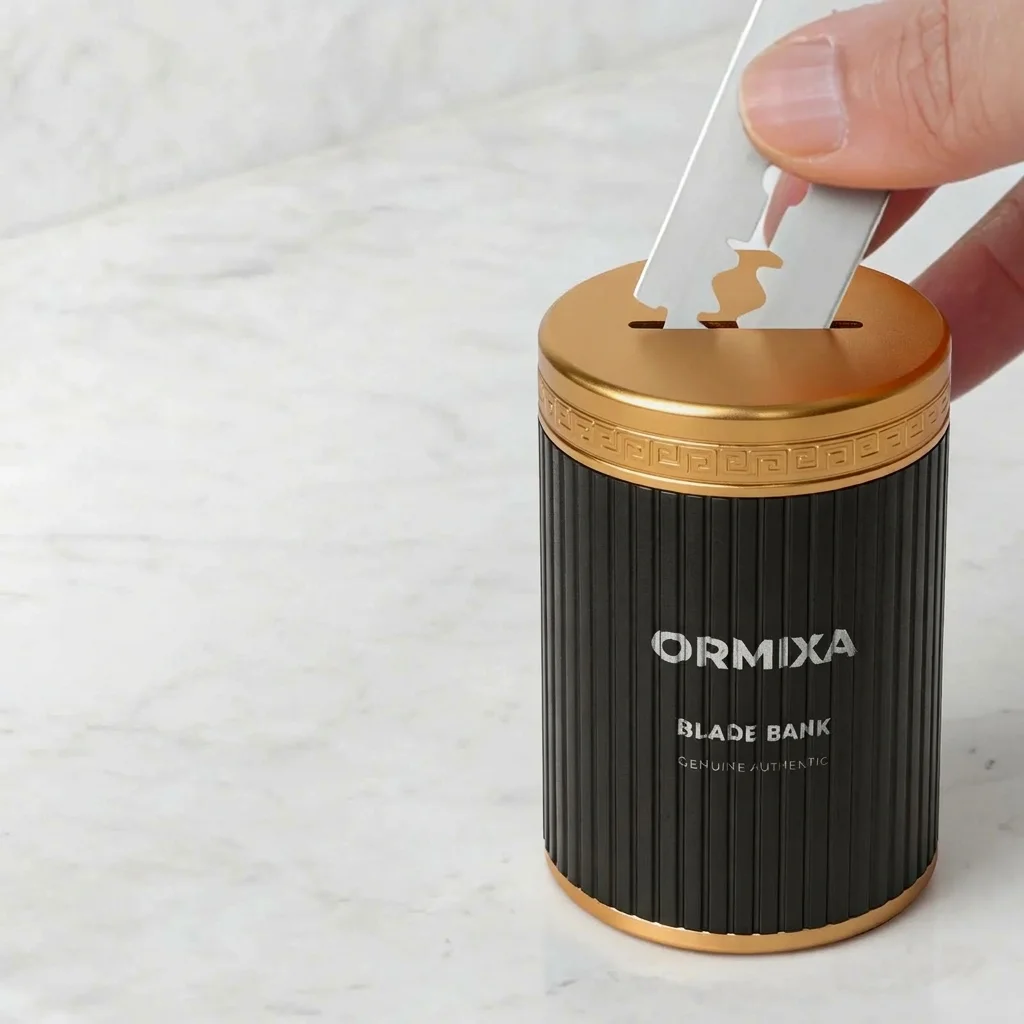
When the bank fills up, empty the blades into whatever your local waste service accepts for sharps or scrap metal rather than assuming they belong in curbside recycling. If you do not own a blade bank yet, the stopgap is an empty tin or a taped-shut hard container kept only for blades. The rule is the same either way: a used blade goes into something closed, not loose.
The razor that survives the routine
A cleaning routine only pays off on a razor built to take it. The ORMIXA Vector is machined from solid 316L stainless or TC4 titanium, so there is no surface coating to chip and expose a different metal underneath. Rinsing, washing, and handling all act on the same corrosion-resistant alloy the whole way through, which is what makes a routine like this worth keeping up rather than a losing battle.
Sources
- American Academy of Dermatology — How to shave (rinse the razor after each swipe; store it in a dry area and let it dry completely to prevent bacteria; change the blade after 5–7 shaves)
- American Academy of Dermatology — Razor bump remedies (dry your razor and store it in a dry place to prevent bacteria; a single blade stays sharp for 5–7 shaves)
- Cleveland Clinic — Razor burn (rinse the razor every few strokes to clear hair and soap; clean and dry it, then store it in a dry place to prevent bacteria growth; keep blades sharp and free of rust; toss a razor blade after five to seven uses)
Disclosure
ORMIXA products are sold by ECE Innovate Homes LLC and manufactured by Guangzhou Yanyang Technology Co., Ltd. under trademark license.
Looking for a razor built to last? See all ORMIXA products →
Frequently asked questions
- How often should you clean a safety razor?
- Rinse it under warm running water and shake it dry after every shave. Once a week, unscrew the handle, take the razor apart, and scrub the three metal parts in warm soapy water with a soft brush. Descaling is not on a schedule — do it only if a chalky deposit actually appears, and only by a method your razor’s care instructions allow.
- How do you disassemble a safety razor to clean it?
- Unscrew the handle first. That releases the clamp and separates the razor into its three metal parts — the top cap, the base plate, and the handle — and only then can the blade come free, because on a three-piece razor it sits clamped between the cap and the plate. Lift the blade out by its blunt short ends and set it aside, then wash the three parts with a soft brush, paying attention to the underside of the cap and the slots of the base plate where dried lather hides.
- Can you put a safety razor in water? Will it rust?
- Yes — rinsing and washing a safety razor in water is what it is built for. A razor machined from 316L stainless steel or TC4 titanium resists corrosion and does not rust from ordinary cleaning. Standing water can still leave mineral spots on the finish as it evaporates, so dry every part with a towel and store the razor where it can air-dry.
- How do you remove soap scum or limescale from a razor?
- Start with a longer wash in warm soapy water and a soft brush, which shifts most soap film on its own. For mineral scale that survives that, check the care instructions for your razor before using any descaler — manufacturers differ, and some rule out vinegar and other acids for their finishes. If a method is specified, follow its stated dilution and contact time and rinse thoroughly afterwards.
- How do you dispose of used double-edge blades?
- Put every used blade into a blade bank, an empty tin, or a taped-shut hard container kept only for blades. A double-edge blade is sharp on both sides, so it should never go loose into household trash or recycling where it can cut someone. A reusable bank like the VAULT holds 100+ used blades and twists open so you can empty them into whatever your local waste service accepts for sharps or scrap metal; a one-off tin goes out closed with the blades still inside.
- Does a safety razor need to be dried after every shave?
- Shake off the water and let it air-dry after every shave, and towel it dry when you deep-clean weekly. Bacteria grow on a razor that stays wet, which is why the American Academy of Dermatology says to store a razor in a dry area, let it dry completely between shaves, and keep it out of the shower and off a wet sink.